Schedule Management
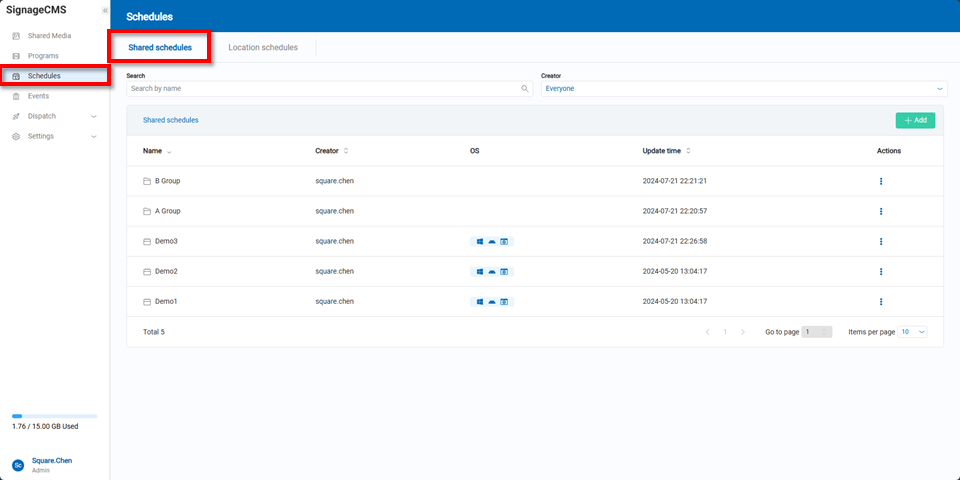
In the Schedule Management page, there are two sections: Shared Schedules and Location Schedules.
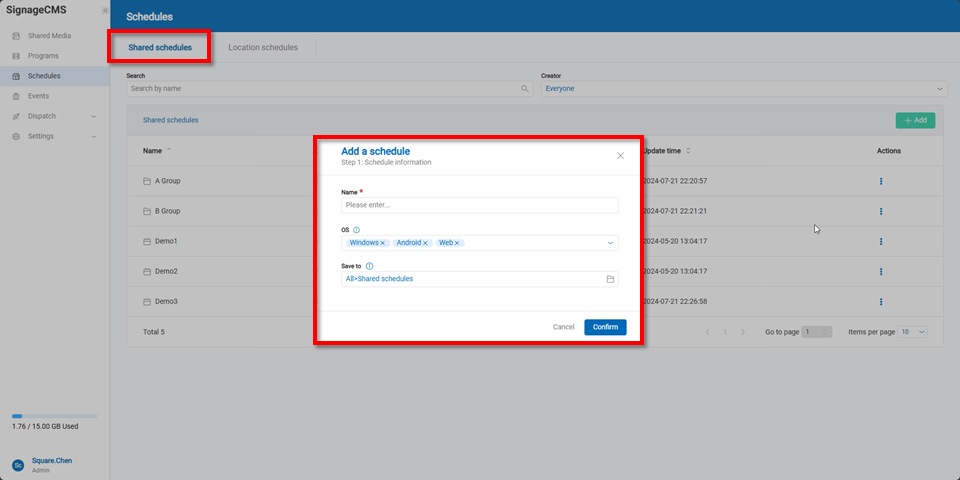
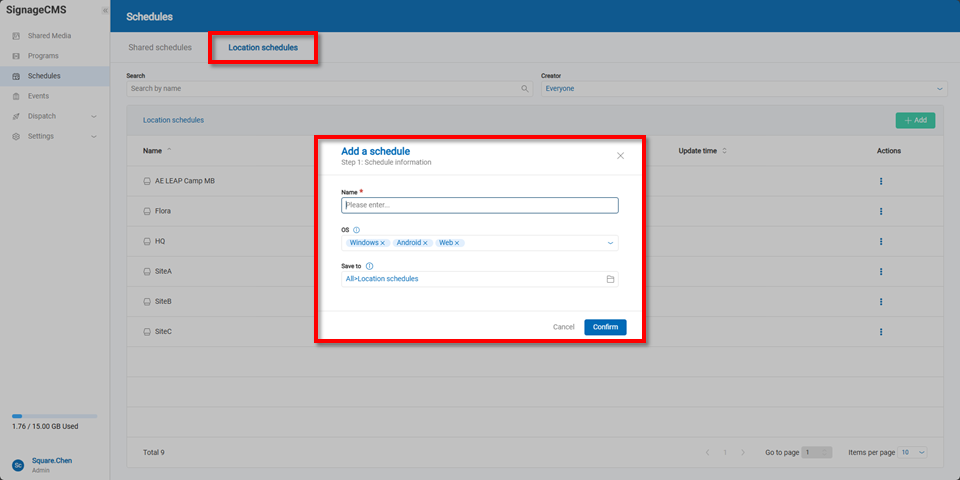
When adding a new schedule, users must first enter the schedule name, select the operating platforms where it will be used, and finally choose where to save it.
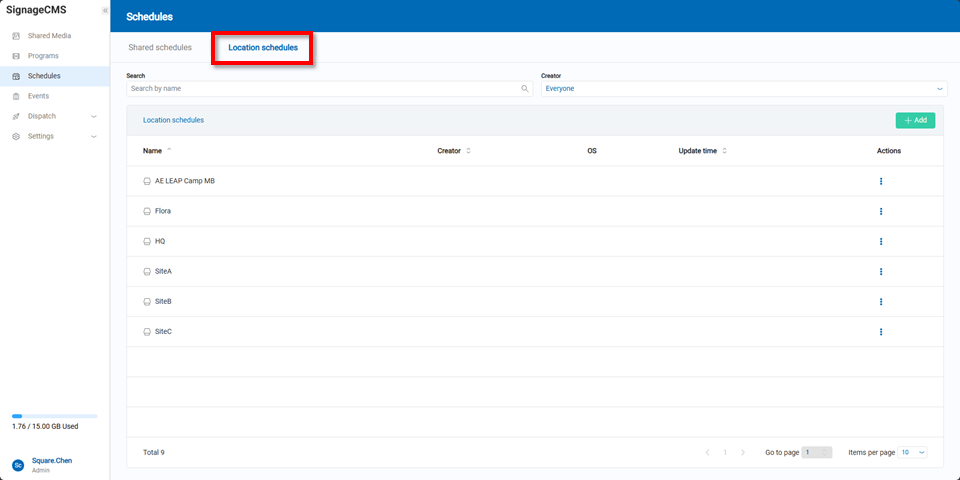
In the location schedule, users can see the added locations, and within each location, they can create folders, add new schedules, and view already created schedules.
Note Location schedules can only include shared programs and programs under that specific location.
When adding a new schedule in a location, users must first enter the schedule name, select the operating platforms where it will be used, and finally choose the location where it will be saved.
Regardless of whether it's a shared schedule or a location schedule, the interface for setting up the schedule is the same.
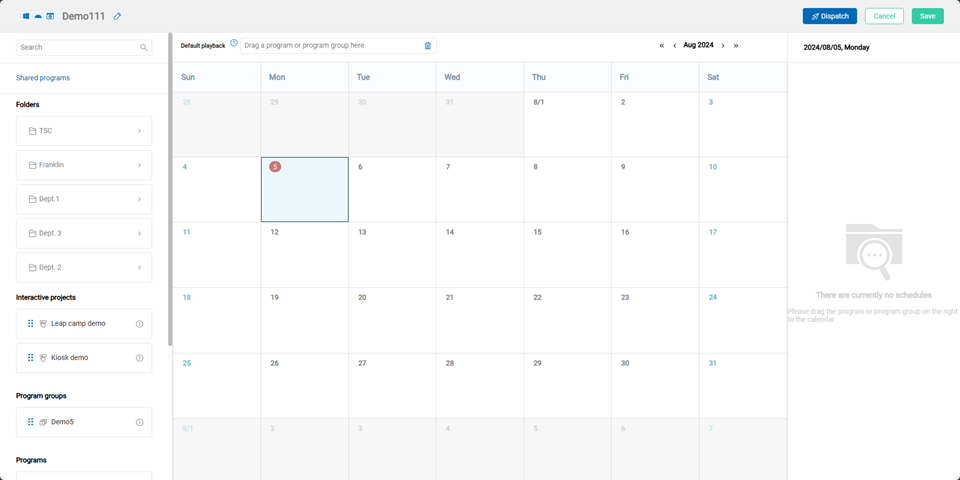
- Users must select a default program or program group to be played in the default playback section and drag it into the designated field.
- Users can then choose specific months from the calendar and drag the desired program or program group onto the dates they wish to play it.
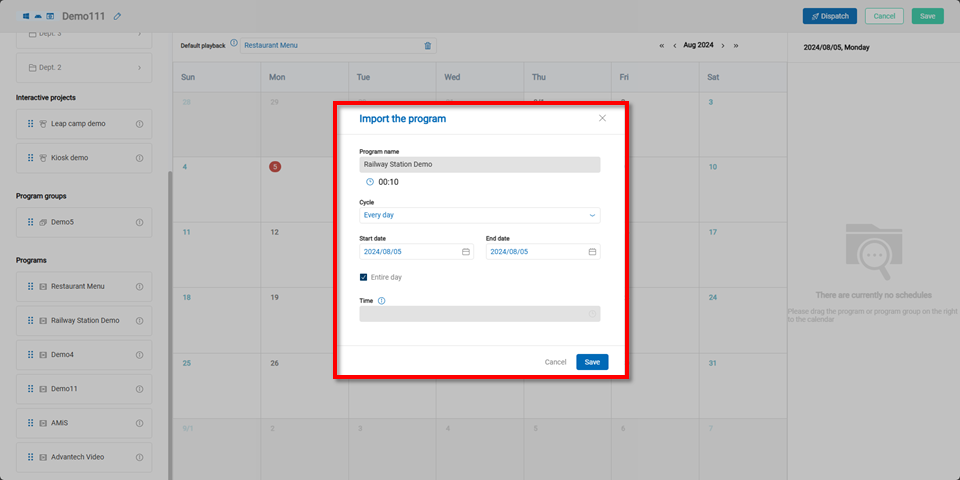
After dragging the program or program group onto the desired date, users can specify the repetition period, start date, end date, and choose between all-day playback or playback during a specific time range. |Repetition Method|Rule| |-|-|-| |Daily|Repeat playback every day within the specified date range| |Weekly|Repeat playback on the same day of the week as the start date within the specified date range| |Weekdays|Repeat playback Monday through Friday within the specified date range| |Weekends|Repeat playback on Saturdays and Sundays within the specified date range|
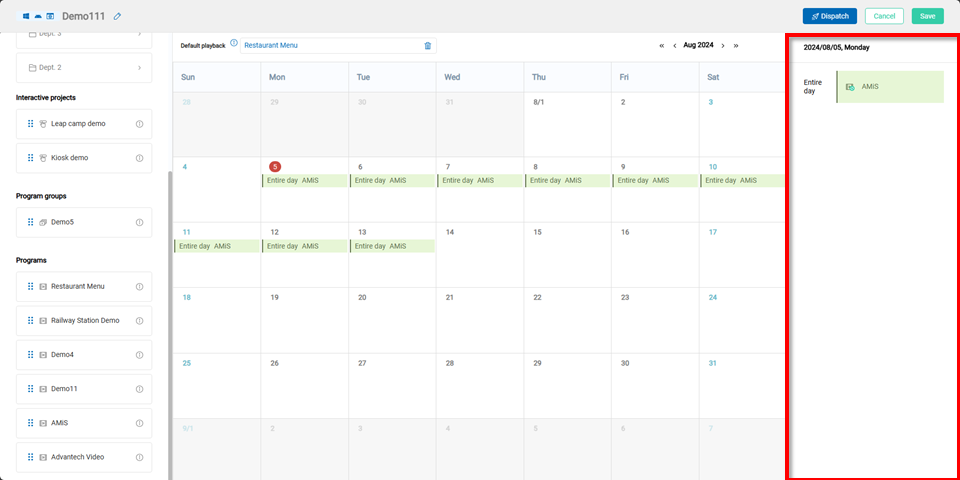
Once completed, users can see the scheduled playback periods on the right side of the screen.
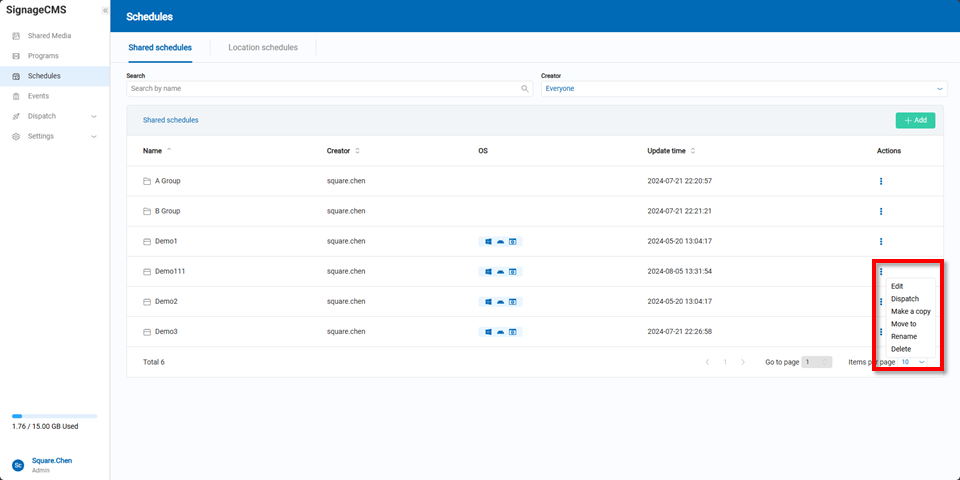
After returning to the Schedule Management page, users can see the schedules that have been created.
By clicking the action button on the right side, users can edit, dispatch, duplicate, move, rename, or delete the schedule.